

How To Install Smtp Server In Windows Server 2008 R2
In the article Install Postal SMTP server on Ubuntu 18.04, I already have discussed steps to install Postal Successfully. Now in this article, I will tell you the commands and steps required to configure Postal, create organizations, add domains, create SMTP etc. Apart from that, I will also discuss the steps required to install SSL certificate. Now, here note that SSL for click tracking is handled by Postal and therefore you don't have to do anything for that. It's only the SSL for web ui and SMTP that we are going to install and configure.
Creating First SMTP on postal
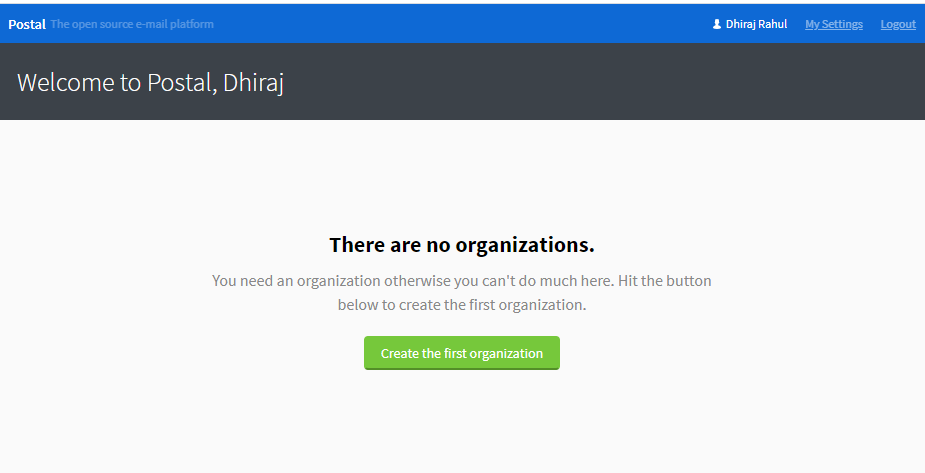
First of all login to your Postal and then create your first organization.
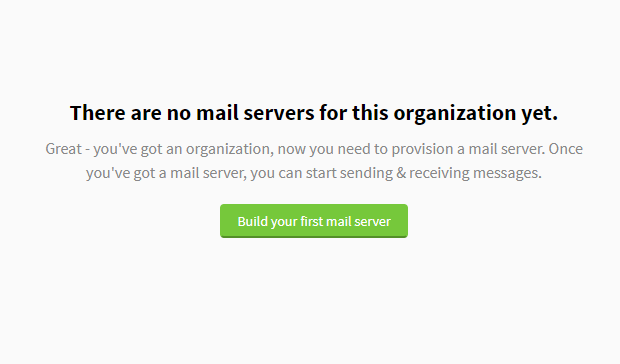
Next create your First SMTP server
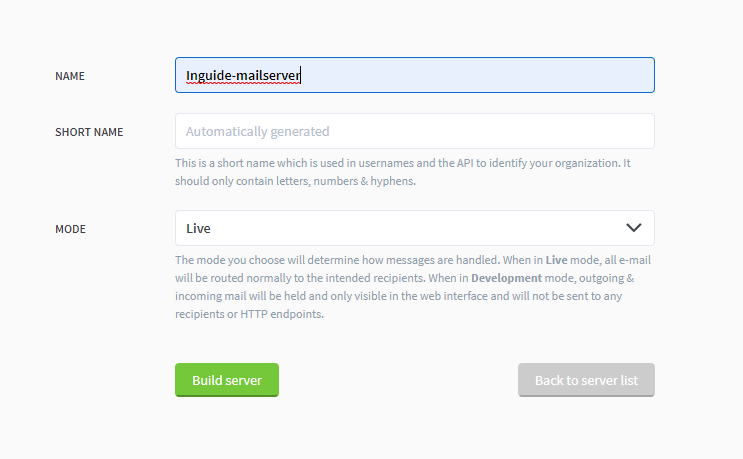
On next screen fill the details
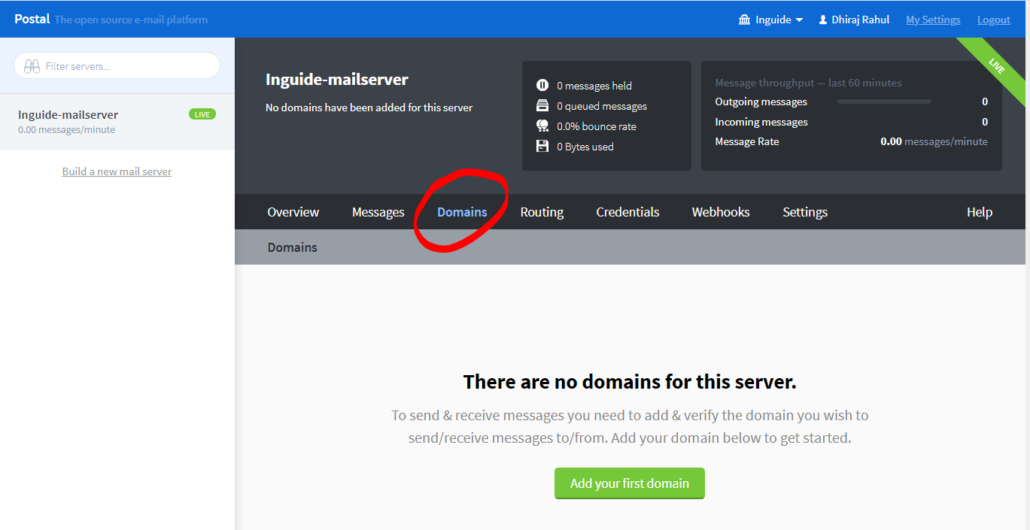
After you have successfully built the server, it's time to add a domain.
Next, you will be given set of DNS records to create. So, just create them.
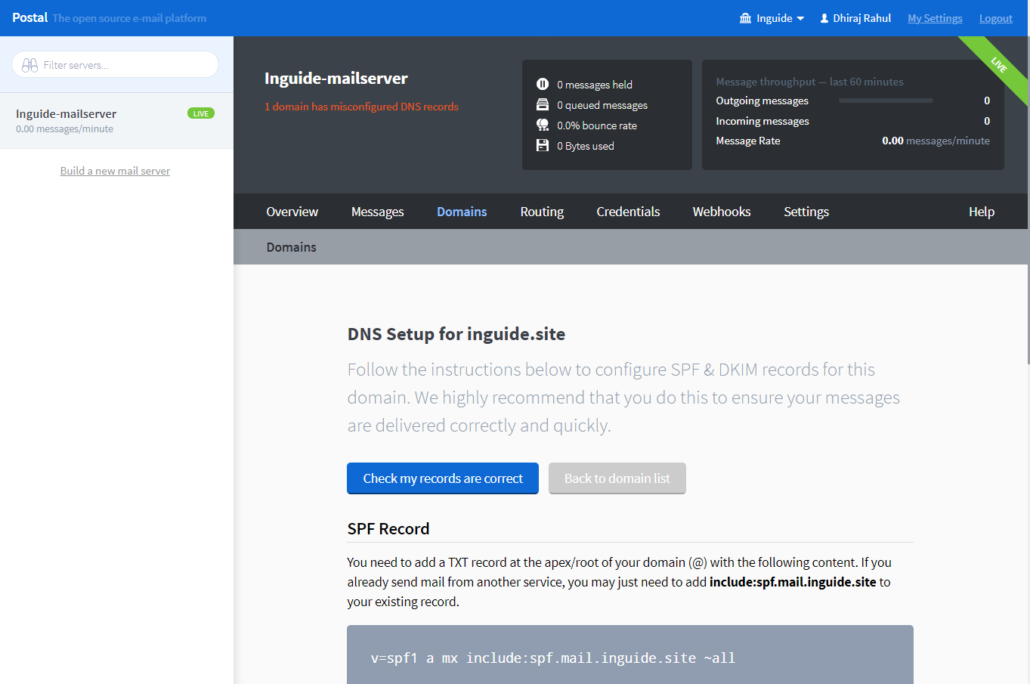
Creating DNS records for Postal
Their is very nice article already written by developers of Postal to create DNS records. But if you follow along, you might get lost and miss mail-tester 10/10 score.
Create the following records
| Name | Type | Value |
| A | 1.2.3.4 | |
| rp.mail | A | 1.2.3.4 |
| track.mail | A | 1.2.3.4 |
| psrp | CNAME | rp.mail.inguide.in |
| @ | MX | 10; mail.inguide.in |
| routes.mail | MX | 10; mail.inguide.in |
| rp.mail | MX | 10; mail.inguide.in |
| @ | TXT | v=spf1 a mx include:spf.mail.example.com ~all |
| rp.mail | TXT | v=spf1 a mx include:spf.mail.example.com ~all |
| spf.mail | TXT | v=spf1 ip4:1.2.3.4 ~all |
| postal-a1b2c3._domainkey | TXT | v=DKIM1; t=s; h=sha256; p=MIGfMA0GC…; |
| _dmarc | TXT | v=DMARC1; p=reject; sp=reject; rua=mailto:[email protected] |
Creating SMTP server
Go to credentials tab and add credentials
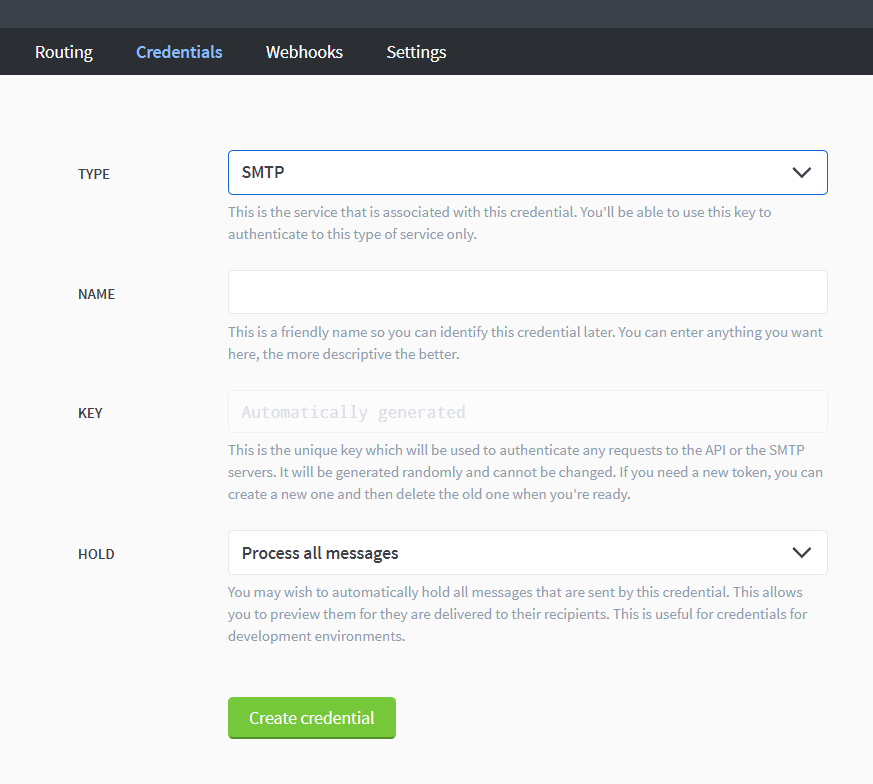
After you have created credentials, key will automatically appear which is none other then your SMTP password in case you have selected SMTP from drop down list. Otherwise, it can be used as API key.
Now you can do the testing with several email marketing tools available.
Installing Free SSL on Postal
First to all get the certbot
To get the SSL certificate execute the following command.
certbot certonly --webroot --webroot-path /opt/postal/app/public --domains mail.yourdomain.com
This will procure SSL certificate and store it on your server. Also, Certbot will tell you where the certificate is located. Subsequently, you have to specify the certificate location inside the nginx configuration andpostal.yml
Open nginx config file
nano /etc/nginx/sites-available/default
Next edit the already present private certificate to add the following lines to it.
ssl_certificate /etc/letsencrypt/live/mail.yourdomain.com/fullchain.pem; ssl_certificate_key /etc/letsencrypt/live/mail.yourdomain.com/privkey.pem;
After that open the Postal config file postal.yml
nano /opt/postal/config/postal.yml
Then add the following line to it
smtp_server: tls_enabled: true tls_certificate_path: /etc/letsencrypt/live/postal.yourorganisation.com/fullchain.pem tls_private_key_path: /etc/letsencrypt/live/postal.yourorganisation.com/privkey.pem
Next restart the Nginx to reload the new certificate into the browser.
sudo systemctl reload nginx
Now go to the browser and reload the webpage.
How to Renew SSL Certificate?
As long as you got the certificate from Lets encrypt, Certbot will automatically renew the certificates so you don't have to worry about replacing them yourself.
Video
Conclusion
Installing and configuring Postal for beginners could be daunting task. But with the help of this and previous article along with video guide, I hope you would be able to install successfully.
How To Install Smtp Server In Windows Server 2008 R2
Source: https://inguide.in/simplest-way-to-configure-postal-create-smtp-install-ssl/
Posted by: grahampatrubtim.blogspot.com
0 Response to "How To Install Smtp Server In Windows Server 2008 R2"
Post a Comment